First of all, you should register your garden at gardendiary.azurewebsites.net .
Then click on the Map icon and find your place at Google Maps. Click the button "Draw bound" and draw bound of your garden on the map. After that, click the button "Save bound".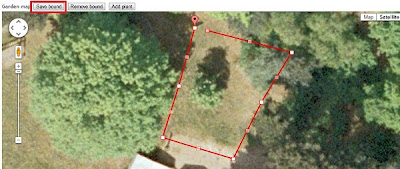
Now, you can place plants on the map using the button "Add plant" . You should enter a name for each plant in the prompt dialog box. Click the button "Save plants" and IT Garden Diary will save all locations at the garden map.If you open the Plant list you'll see all added plants in it. You can edit any records and enter additional information about your plants. itgardendiary
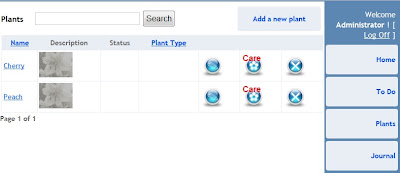

Now, you can place plants on the map using the button "Add plant" . You should enter a name for each plant in the prompt dialog box.
 Click the button "Save plants" and IT Garden Diary will save all locations at the garden map.If you open the Plant list you'll see all added plants in it. You can edit any records and enter additional information about your plants. itgardendiary


No comments:
Post a Comment